Step 1
Go to the Snipcart website and sign up for a free account.
Step 2
Go to the Snipcart documentation website > Store set up > Installation.
Step 3
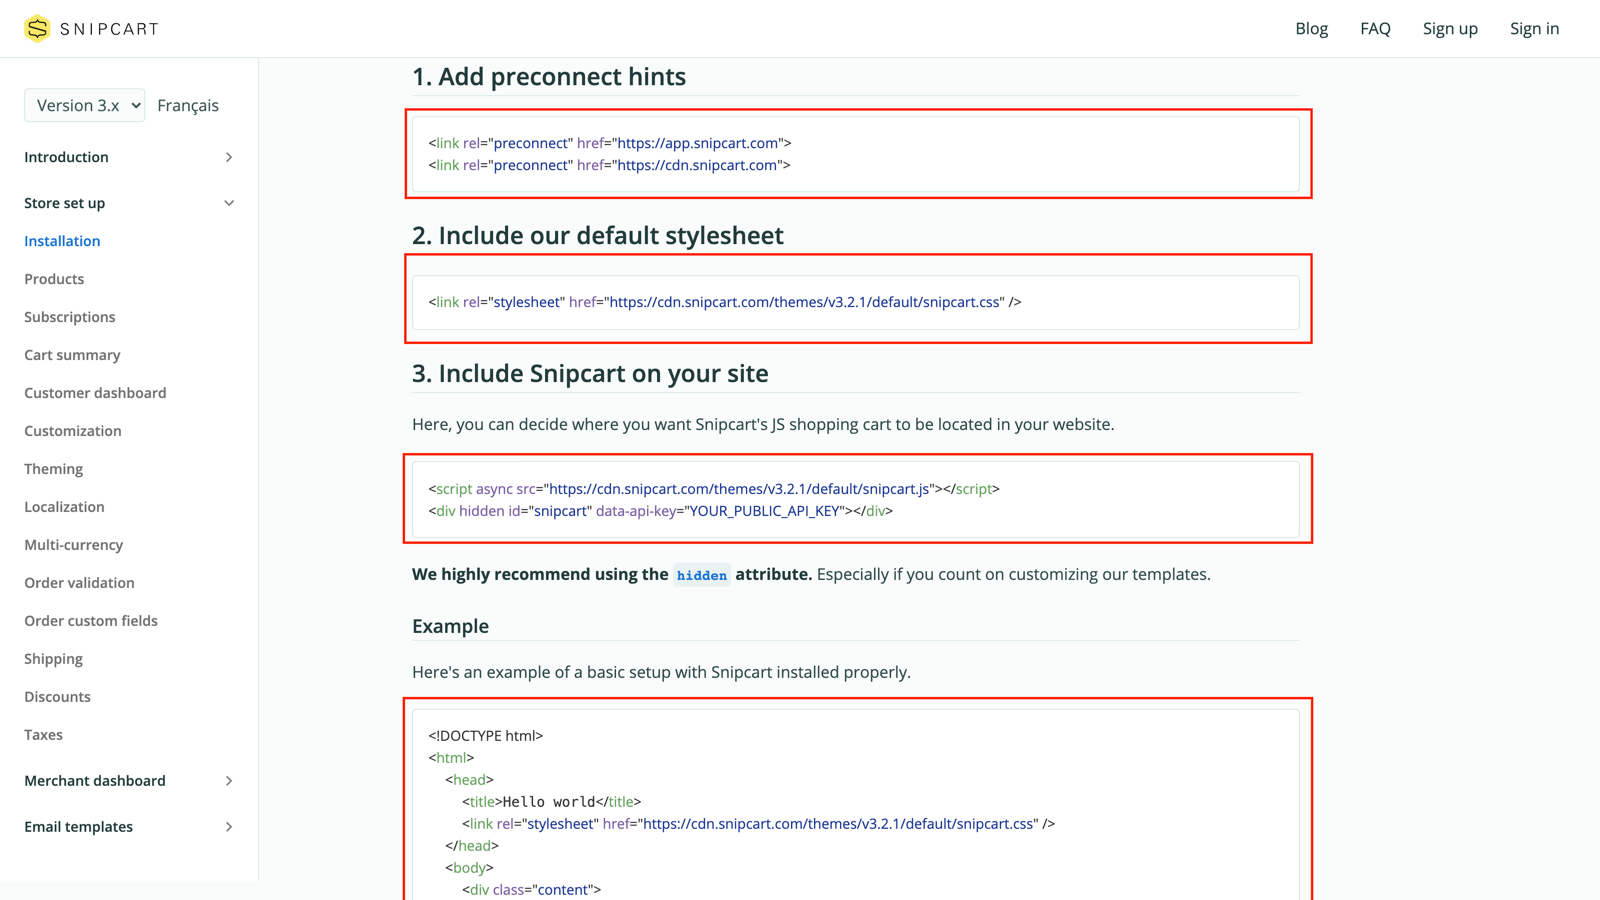
Copy the code titled "Add preconnect hints":
<link rel="preconnect" href="https://app.snipcart.com">
<link rel="preconnect" href="https://cdn.snipcart.com">
Copy the code titled "Include our default stylesheet":
<link rel="stylesheet" href="https://cdn.snipcart.com/themes/v3.2.1/default/snipcart.css" />
Copy the code titled "Include Snipcart on your site":
<script async src="https://cdn.snipcart.com/themes/v3.2.1/default/snipcart.js"></script>
<div hidden id="snipcart" data-api-key="YOUR_PUBLIC_API_KEY" data-config-modal-style="side"></div>
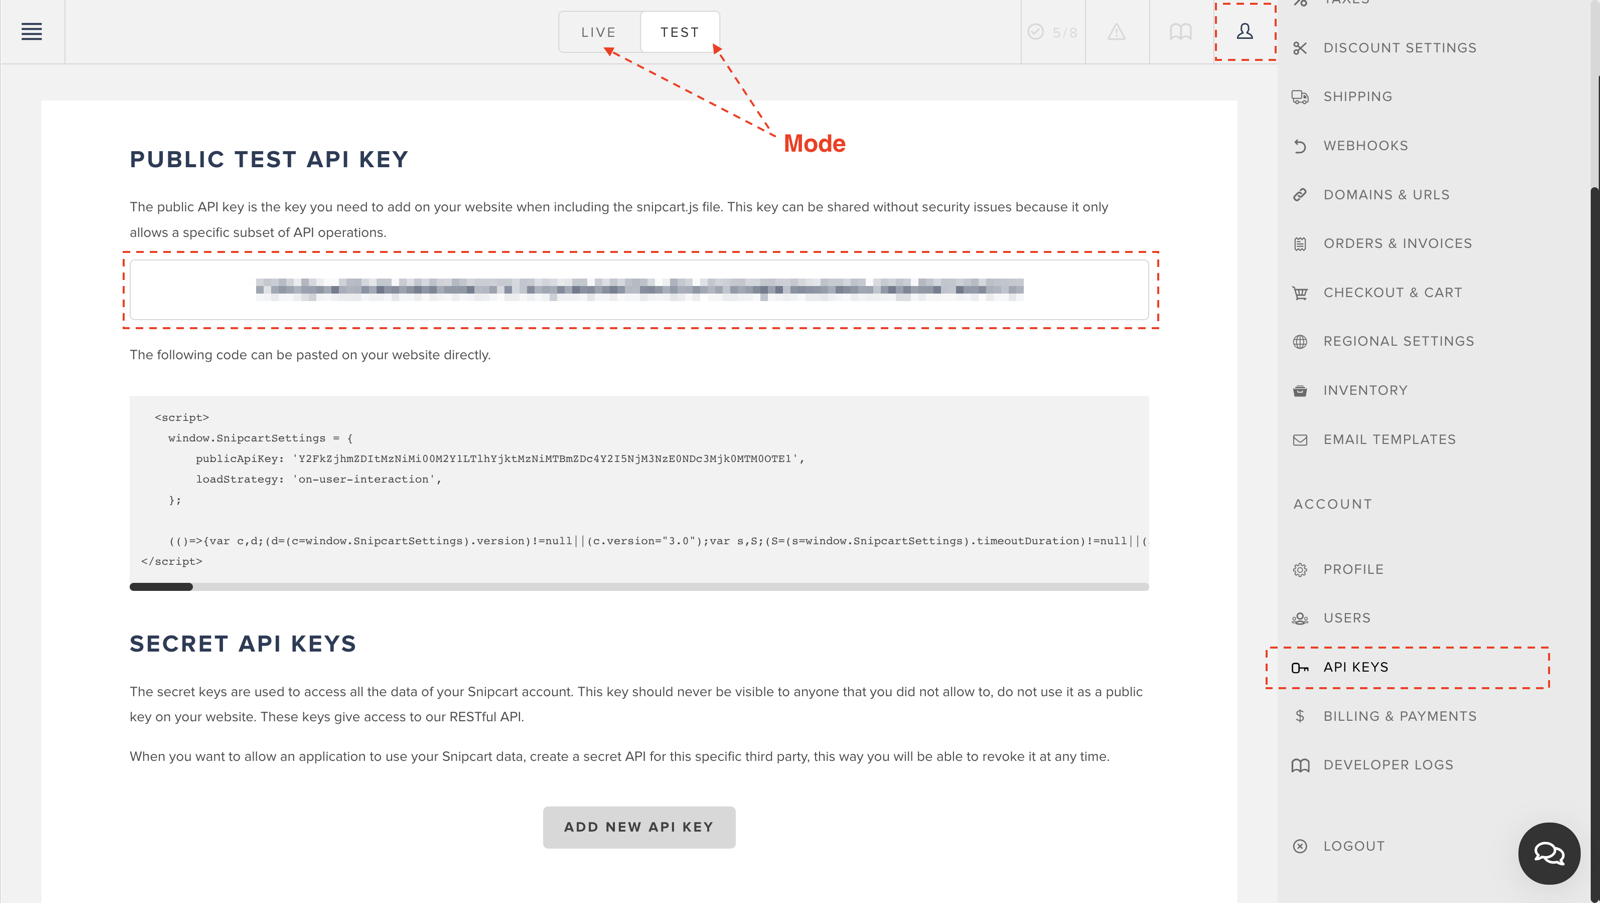
Make sure you update the API Key to your own personal API KEY. This is provided by Snipcart when you sign up and can be found in your customer dashboard.
Please note, in our example, we will include the data attribute for the modal style.
data-config-modal-style="side"
Step 4
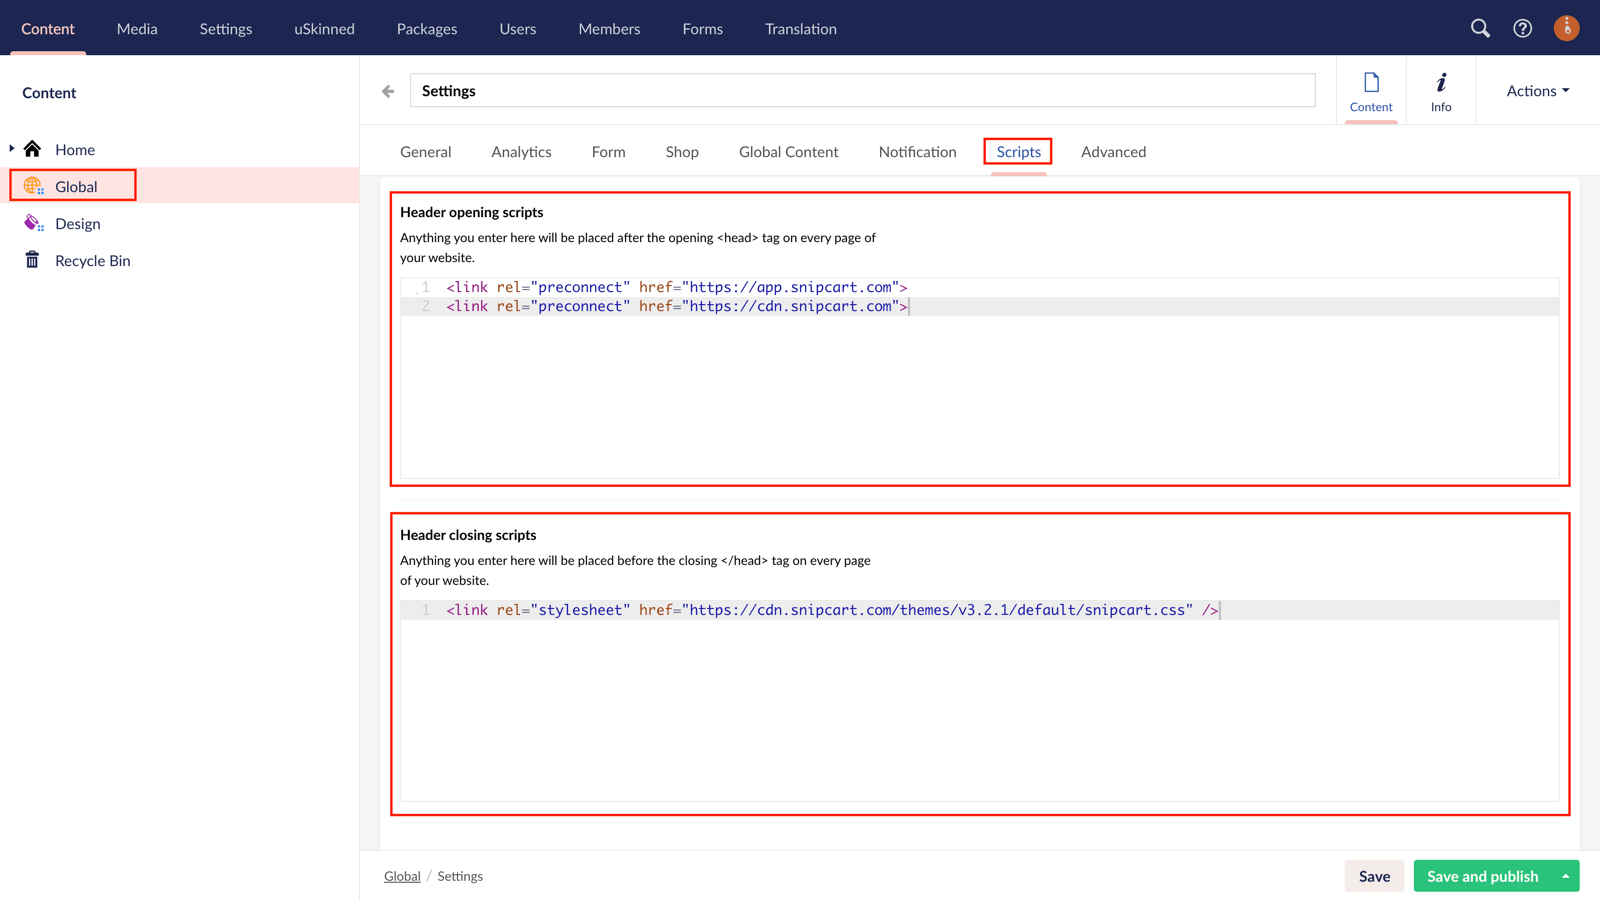
Login to the CMS > In the tree menu, go to 'Global' > Click on 'Settings' > Click on 'Scripts'.
In the field, 'Header opening scripts', paste in the Preconnect Hints.
In the field, 'Header closing scripts', paste in the stylesheet.
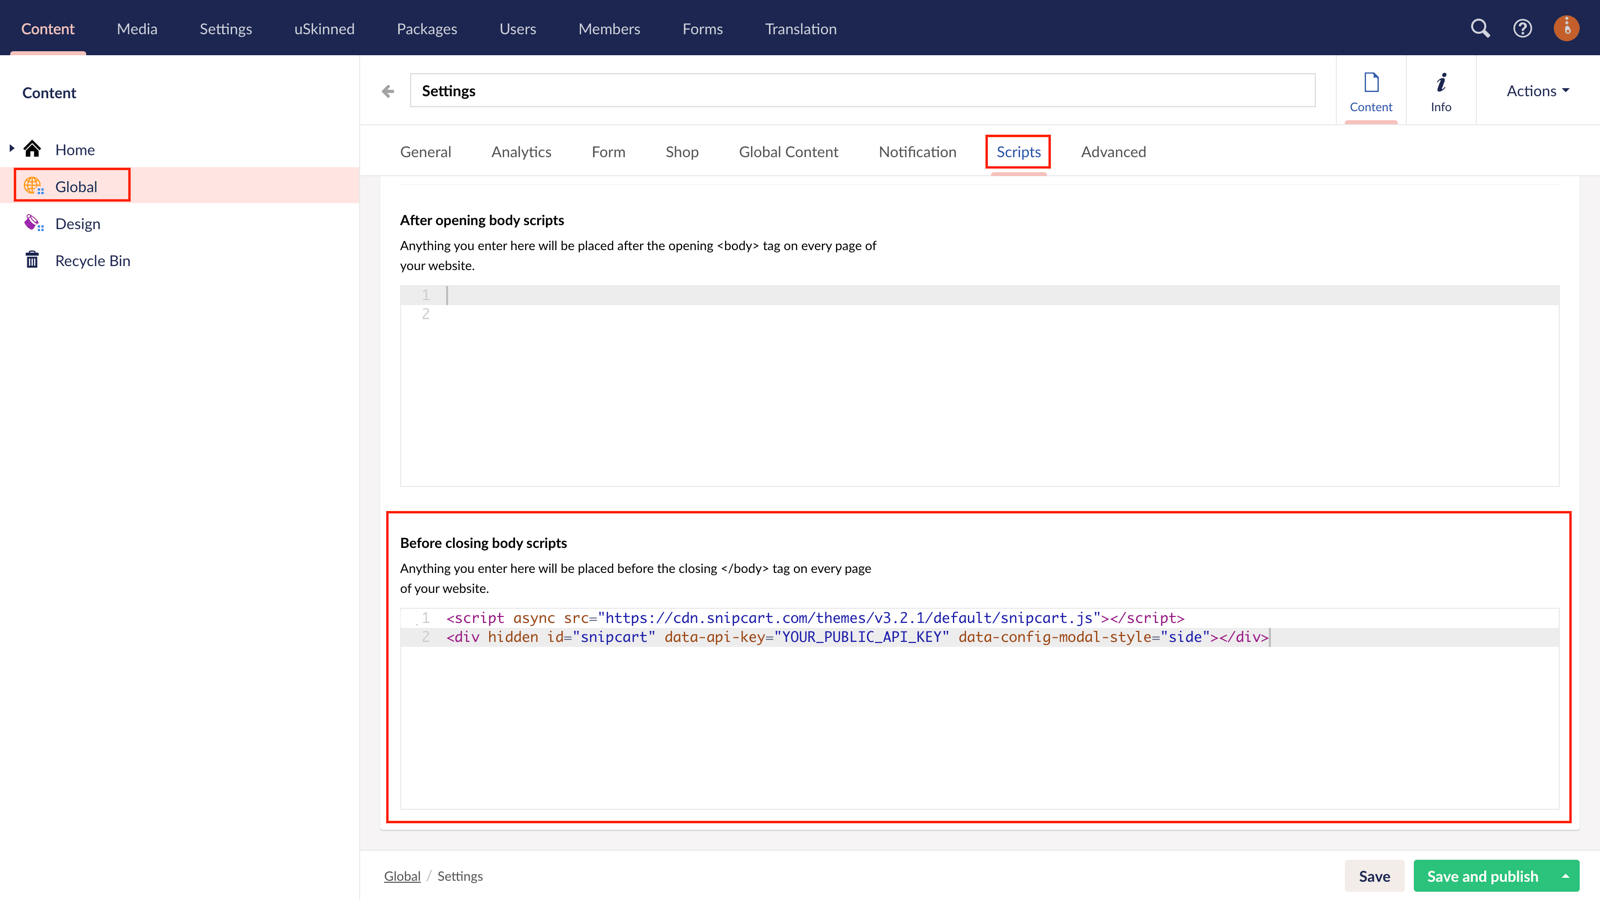
In the field 'Before closing body scripts' paste in the Javascript file and Cart code.
In the bottom right-hand corner, click 'Save and publish'.
Step 5
Under Home, create a new Page, name it and select the 'Full' layout option.
Step 6
Click 'Add Content' and choose the 'Split Component'.
Step 7 a
Return to the Snipcart documentation > Store set up > Products.
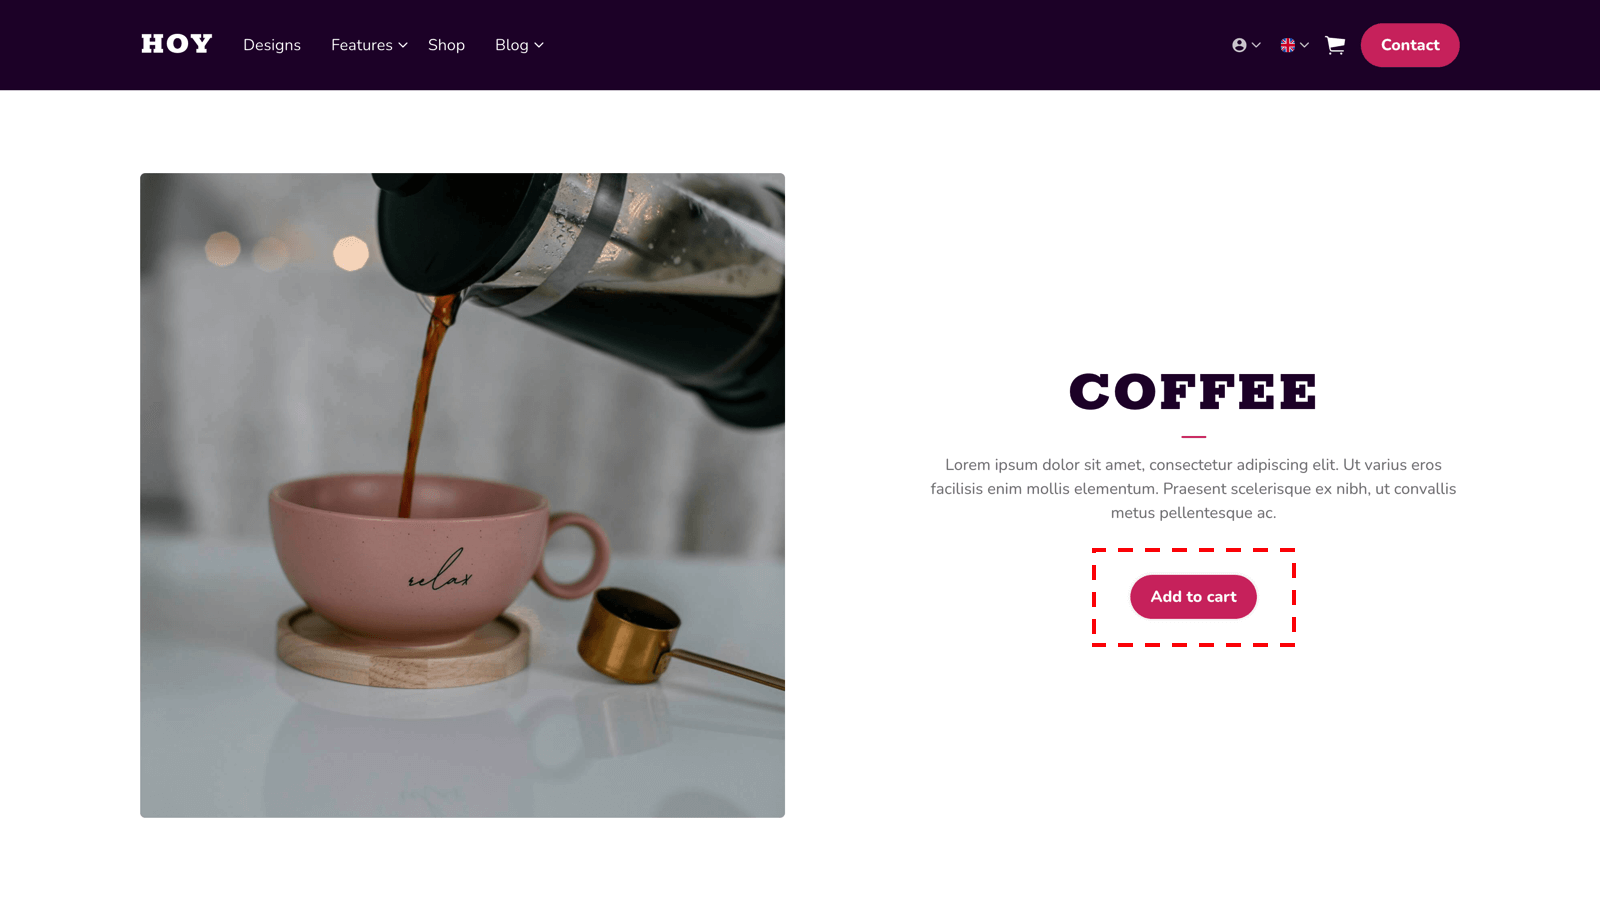
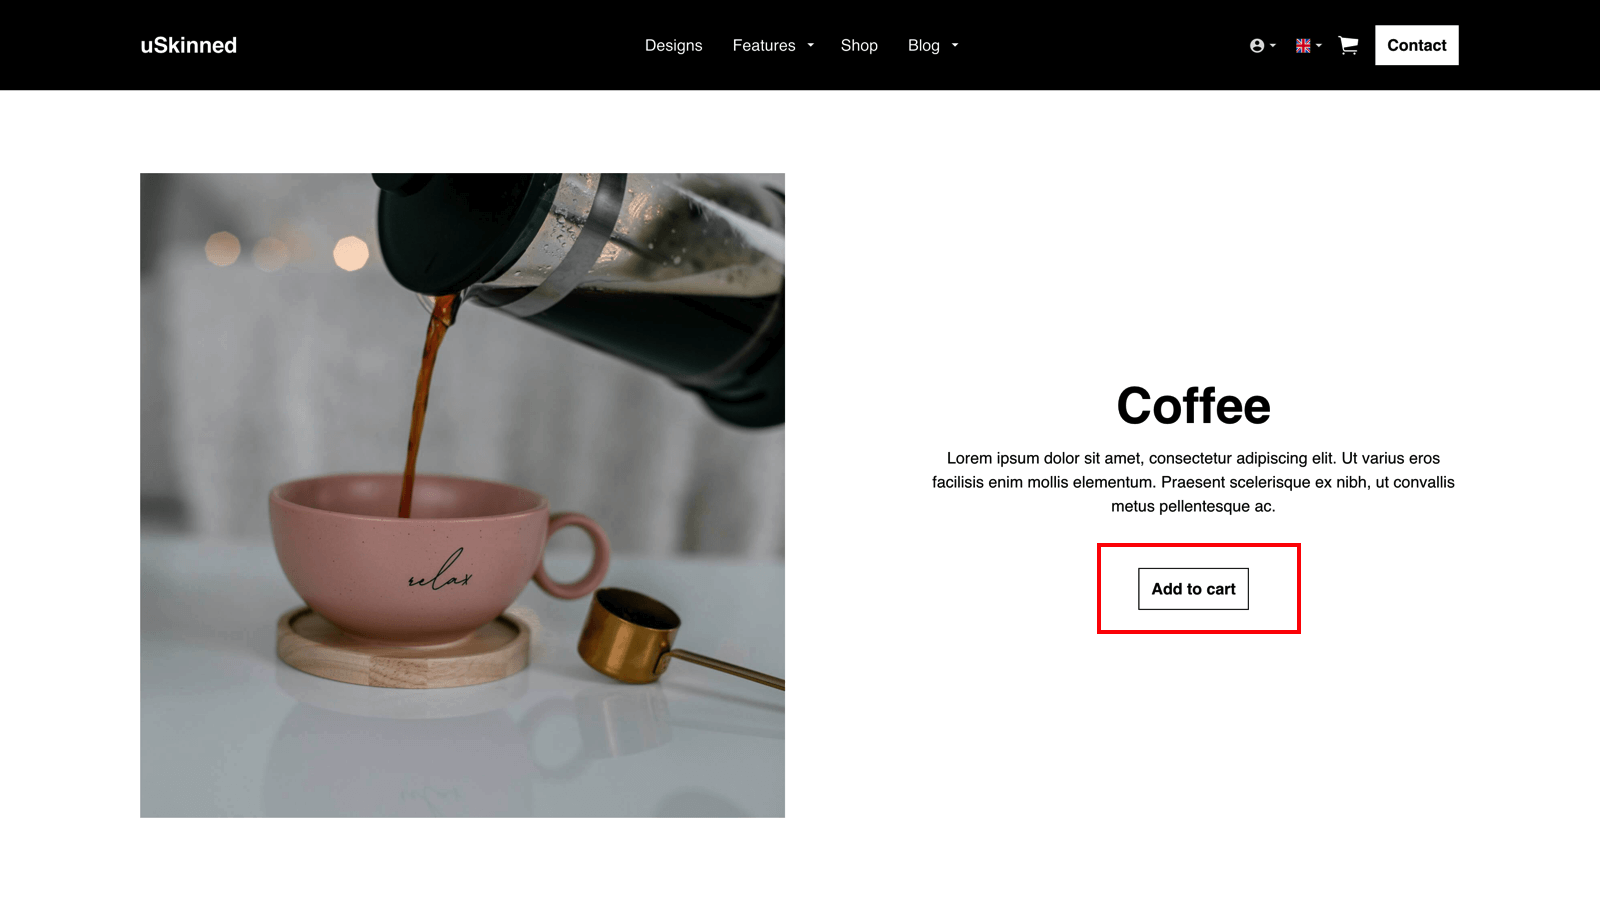
Copy the example product button code provided.
<button class="snipcart-add-item"
  data-item-id="starry-night"
  data-item-price="79.99"
  data-item-url="/paintings/starry-night"
  data-item-description="High-quality replica of The Starry Night by the Dutch post-impressionist painter Vincent van Gogh."
  data-item-image="/assets/images/starry-night.jpg"
  data-item-name="The Starry Night">
  Add to cart
</button>
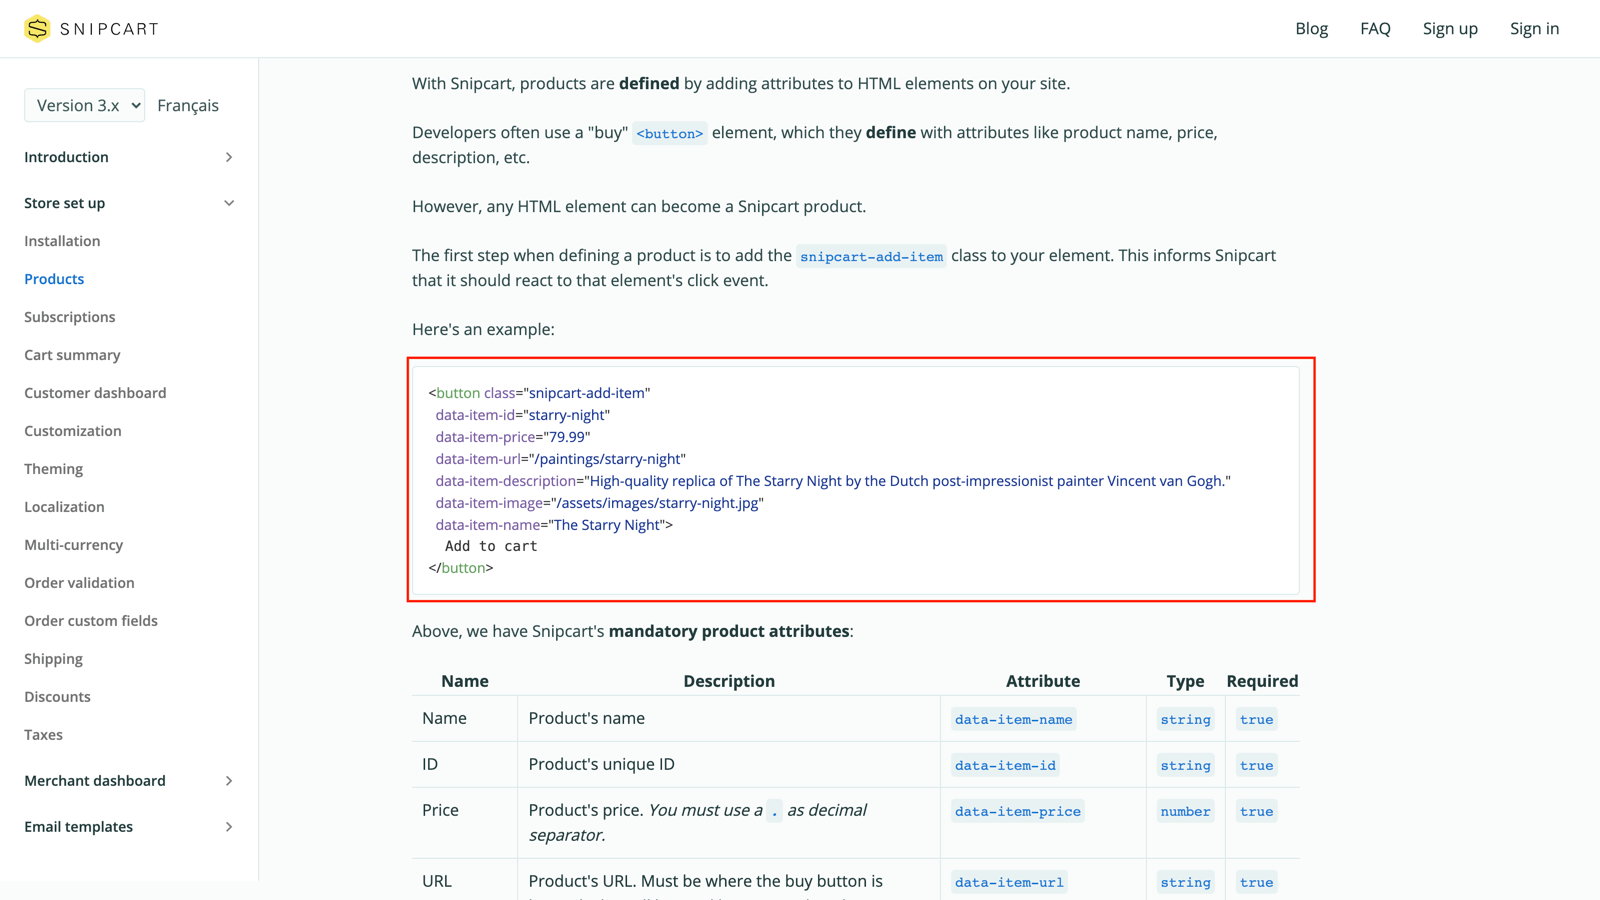
Please note, you will need to customise all of the data attribute values to the values of your own products and include the relevant classes to style the button so that it matches your uSkinned website.
For example, the <button> code for a t-shirt might look like:
<button class="snipcart-add-item btn base-btn-bg base-btn-bg-solid base-btn-bg-hover-solid base-btn-text base-btn-borders"
  data-item-id="t-shirt"
  data-item-price="19.99"
  data-item-url="/clothes/t-shirt/"
  data-item-description="This is an awesome t-shirt."
  data-item-image="/media/xsdeds1/t-shirt.jpg"
  data-item-name="T-shirt">
  Add to cart
  <span></span>
</button>
You can even add custom attributes, including customer/gift notes and product options, but you can learn more about this on the Snipcart documentation website.
Step 7 b
Return to the CMS > On Split Section 1, click 'Add Content' > choose the 'Pods' block.
Step 7 c
At the top, enable the 'Intro' section.
At the label, 'Heading' enter the product name.
At the label, 'Text' enter the product description.
Step 7 d
At the label 'Pods', click 'Add content'. From the options, select 'Embed Code' pod.

Step 7 e
In the Embed Code field, paste your Snipcart button code.
Then, at the bottom right click 'Submit'.
Step 1
Go to the Snipcart website and sign up for a free account.
Step 2
Go to the Snipcart documentation website > Store set up > Installation.
Step 3
Copy the code titled "Add preconnect hints":
<link rel="preconnect" href="https://app.snipcart.com">
<link rel="preconnect" href="https://cdn.snipcart.com">
Copy the code titled "Include our default stylesheet":
<link rel="stylesheet" href="https://cdn.snipcart.com/themes/v3.2.1/default/snipcart.css" />
Copy the code titled "Include Snipcart on your site":
<script async src="https://cdn.snipcart.com/themes/v3.2.1/default/snipcart.js"></script>
<div hidden id="snipcart" data-api-key="YOUR_PUBLIC_API_KEY" data-config-modal-style="side"></div>
Make sure you update the API Key to your own personal API KEY. This is provided by Snipcart when you sign up and can be found in your customer dashboard.
Please note, in our example, we will include the data attribute for the modal style.
data-config-modal-style="side"

Step 4
Login to the CMS > In the tree menu, go to 'Global' > Click on 'Settings' > Click on 'Scripts'.
In the field, 'Header opening scripts', paste in the Preconnect Hints.
In the field, 'Header closing scripts', paste in the stylesheet.

In the field 'Before closing body scripts' paste in the Javascript file and Cart code.

In the bottom right-hand corner, click 'Save and publish'.
Step 5
Under Home, create a new Page, name it and select the 'Full' layout option.
Step 6
Click 'Add Content' and choose the 'Split Component'.
Step 7 a
Return to the Snipcart documentation > Store set up > Products.
Copy the example product button code provided.
<button class="snipcart-add-item"
  data-item-id="starry-night"
  data-item-price="79.99"
  data-item-url="/paintings/starry-night"
  data-item-description="High-quality replica of The Starry Night by the Dutch post-impressionist painter Vincent van Gogh."
  data-item-image="/assets/images/starry-night.jpg"
  data-item-name="The Starry Night">
  Add to cart
</button>

Please note, you will need to customise all of the data attribute values to the values of your own products and include the relevant classes to style the button so that it matches your uSkinned website.
For example, the <button> code for a t-shirt might look like:
<button class="snipcart-add-item btn base-btn-bg base-btn-bg-solid base-btn-bg-hover-solid base-btn-text base-btn-borders"
  data-item-id="t-shirt"
  data-item-price="19.99"
  data-item-url="/clothes/t-shirt/"
  data-item-description="This is an awesome t-shirt."
  data-item-image="/media/xsdeds1/t-shirt.jpg"
  data-item-name="T-shirt">
  Add to cart
  <span></span>
</button>
You can even add custom attributes, including customer/gift notes and product options, but you can learn more about this on the Snipcart documentation website.
Step 7 b
Return to the CMS > On Split Section 1, click 'Add Content' > choose the 'Pods' block.
Step 7 c
At the top, enable the 'Intro' section.
At the label, 'Heading' enter the product name.
At the label, 'Text' enter the product description.
Step 7 d
At the label 'Pods', click 'Add content'. From the options, select 'Embed Code' pod.

Step 7 e
In the Embed Code field, paste your Snipcart button code.
Then, at the bottom right click 'Submit'.
Step 8
On Split Section 2, click 'Add Content' and choose the 'Gallery' block. This is to showcase the product images that support your new product.
Step 9
Click 'Add Content' to select your image or video type. We will use the 'Gallery Multiple Images' options to quickly select multiple images in our example.
Step 10
Select the product images you wish to showcase. Please note, you are not limited to just showcasing images, you can use YouTube, Vimeo, or videos uploaded to your Media section too. Once you're happy, click 'Create' in the bottom right.
Step 11
Still on your 'Gallery', in the top right, click on 'Settings'. In our example, we will choose:
- Items per row — 1
- Image style — 1:1 Square
- Enable Carousel: Yes
- Show arrows: Yes
Once you're happy, click 'Submit' in the bottom right.
Step 12
Still on your 'Split Component', in the top right, click on 'Settings'. Choose the settings that best suit your site design. Now click 'Submit'.
Step 13
Since the product name in the 'Split Component' will be our page title, we can hit the switch to 'Hide Page Title'.
Step 14
Your users can now checkout securely with Snipcart.
